
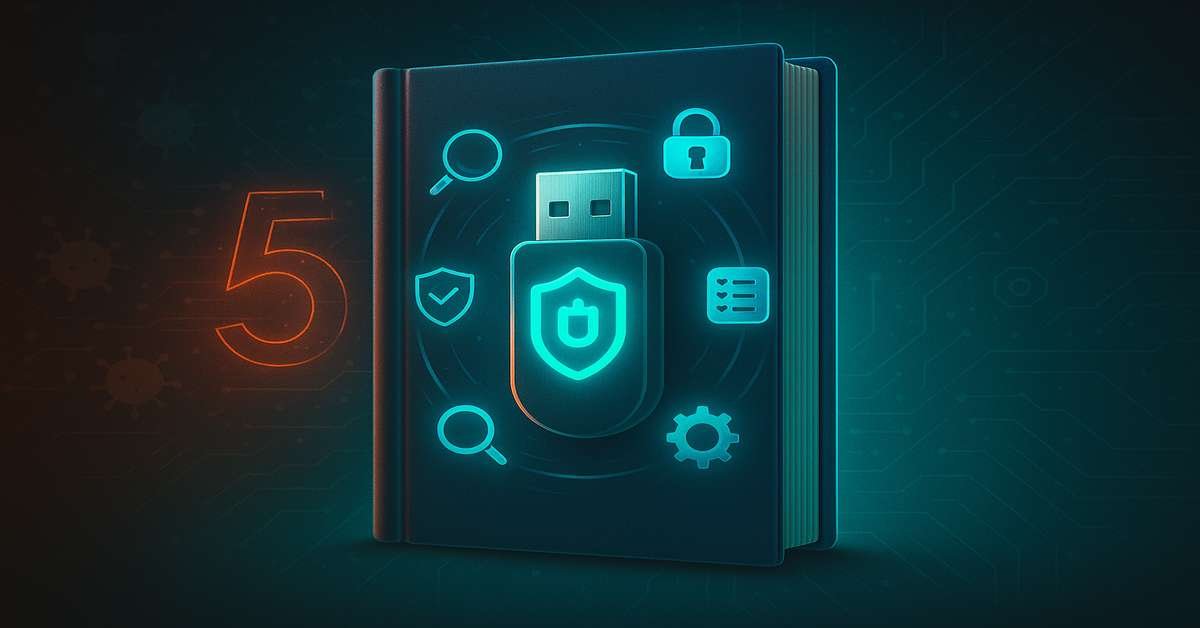
In our digital lives, USB drives are like the trusty Swiss Army knives of data. They’re small, portable, and incredibly versatile for moving files between computers. But just like a physical tool, if not handled with care, they can also be a source of trouble, particularly when it comes to cybersecurity. The good news is, you don’t need to be a cybersecurity expert to keep your USB drives secure. There’s a whole category of software – USB security disk tools – designed to help you do just that. This guide will walk you through what these tools are, why you need them, and how to use them to protect your precious data and your computer.
Why USB Drives Need Special Security Attention
Before we dive into the tools, let’s quickly understand why USB drives are a unique security challenge:
- Portability = Exposure: USBs are designed to be plugged into many different computers. Each time you connect to a new machine, you risk picking up malware or leaving your data vulnerable.
- Auto-Execution Risks: Historically, features like AutoRun/AutoPlay made USBs a prime vector for malware. While modern operating systems have mitigated this, the risk of accidental execution of malicious files remains.
- “BadUSB” Attacks: These advanced threats reprogram the USB drive’s internal firmware, making the drive itself malicious. It can then impersonate a keyboard and inject commands, bypassing traditional file-based antivirus scans.
- Data Loss/Theft: A lost or stolen unencrypted USB drive can expose sensitive personal or professional data to unauthorized individuals.
This is where USB security disk tools come into play. They provide specialized defenses against these unique threats.
What Are USB Security Disk Tools?
USB security disk tools are software applications designed to enhance the security of your USB flash drives and the computers they connect to. They go beyond general antivirus software by focusing specifically on the vulnerabilities associated with removable media. These tools can broadly be categorized into a few types:
- USB Antivirus/Scanner Tools: These are designed to scan USB drives for malware upon insertion, often before any files are accessed. They act as a gatekeeper, preventing infected files from reaching your system.
- USB Device Control/Blocking Tools: These tools allow you to control which USB devices are permitted to connect to your computer. They can whitelist specific devices (e.g., your personal trusted USB) and block all others, offering protection against unknown or malicious USBs.
- USB Encryption Tools: These tools encrypt the data on your USB drive, making it unreadable to anyone without the correct password or key. This is crucial for protecting sensitive information in case your drive is lost or stolen.
- USB Data Wiping/Sanitization Tools: For when you need to dispose of a USB drive or ensure sensitive data is permanently removed, these tools securely erase all data, preventing recovery.
Let’s explore some common examples and how they work.
Essential USB Security Disk Tools for Beginners
1. Your Built-in Antivirus (Windows Defender/Microsoft Defender Antivirus)
For Windows users, your first and most accessible USB security tool is already on your computer: Windows Defender (now called Microsoft Defender Antivirus). While not exclusively a
USB-specific tool, it provides robust real-time protection and automatically scans removable drives upon insertion. Ensure it’s active and up-to-date.
How to use it: * Plug in your USB drive. * Windows Defender will automatically scan it in the background. If a threat is found, it will alert you. * For a manual scan, open File Explorer, right-click on the USB drive, and select Scan with Microsoft Defender.
2. Free Third-Party Antivirus Software
If you prefer a different antivirus or want a second opinion, many reputable cybersecurity companies offer free versions of their comprehensive antivirus software. These often include excellent USB scanning capabilities.
Examples: Avast Free Antivirus, AVG AntiVirus Free, Bitdefender Antivirus Free Edition, Kaspersky Security Cloud Free.
How to use them: * Download and install from the official website of your chosen provider. * Ensure real-time protection is enabled. * Most will automatically scan USB drives on insertion. You can also manually scan by right-clicking the drive.
3. USB Device Control (for Linux: USBGuard)
For Linux users, USBGuard is an incredibly powerful, free, and open-source tool that allows you to control which USB devices are allowed to connect to your system. It operates on a whitelist principle: only devices you explicitly approve can function.
How it helps: Protects against BadUSB attacks by blocking unauthorized devices at a low level. It prevents unknown USBs from acting as keyboards or network interfaces.
How to use it (simplified): * Install USBGuard (e.g., sudo apt install usbguard on Ubuntu). * Generate an initial policy that whitelists your currently connected, trusted devices (sudo usbguard generate-policy > /etc/usbguard/rules.conf). * Enable and start the service (sudo systemctl enable usbguard && sudo systemctl start usbguard). * When you plug in a new, trusted device, you can manually allow it using sudo usbguard allow-device <device-id>.
4. Encryption Tools (for Windows: BitLocker, for macOS: FileVault, for Cross-Platform: VeraCrypt)
Encrypting your USB drive is paramount if you store any sensitive data on it. Encryption scrambles your data, making it unreadable to anyone without the correct password or decryption key. This protects your data if the drive is lost or stolen.
How they help: Prevents unauthorized access to your data. Even if a malicious actor gets hold of your drive, they can’t read your files.
How to use them: * BitLocker (Windows Pro/Enterprise): Right-click on the USB drive in File Explorer, select Turn on BitLocker, and follow the prompts to set a password. (Note: BitLocker To Go is available on Windows 10/11 Pro and Enterprise editions). * FileVault (macOS): While primarily for internal drives, you can encrypt external drives using Disk Utility. Select the drive, click Erase, choose an encrypted format (e.g., APFS (Encrypted) or Mac OS Extended (Journaled), Encrypted), and set a password. * VeraCrypt (Cross-Platform, Free): Download and install VeraCrypt. You can then create an encrypted volume (a file that acts like a drive) or encrypt an entire partition/device. It’s more complex but highly secure and works on Windows, macOS, and Linux.
5. Data Wiping Tools (e.g., DBAN, Eraser)
When you’re done with a USB drive and want to dispose of it or reuse it for non-sensitive data, simply deleting files or even quick formatting isn’t enough. Data can often be recovered. Data wiping tools securely overwrite the drive multiple times, making data recovery virtually impossible.
How they help: Ensures sensitive data is permanently removed before disposal or repurposing.
How to use them: * DBAN (Darik’s Boot and Nuke): A bootable solution for wiping entire drives. You’ll need to create a bootable USB or CD with DBAN and boot your computer from it. (More advanced for beginners). * Eraser (Windows, Free): A software tool that allows you to securely delete files, folders, or entire drives by overwriting them with random data multiple times. Install Eraser, right-click on the drive/files you want to wipe, and select Eraser.
Building Your USB Security Toolkit: A Step-by-Step Approach
For beginners, it can feel overwhelming to implement all these tools. Here’s a simplified approach to building your USB security toolkit:
- Start with Your Antivirus: Ensure your built-in (Windows Defender) or chosen free third-party antivirus is active, up-to-date, and configured to scan USB drives automatically. This is your foundational layer.
- Practice Smart Habits: Make it a habit to scan every USB before opening files, avoid unknown drives, and disable AutoRun. These are free and highly effective.
- Consider Encryption: If you carry any sensitive data on your USB drives, prioritize encrypting them. Use BitLocker (if you have Windows Pro), FileVault (macOS), or learn VeraCrypt for cross-platform, robust encryption.
- Linux Users: Implement USBGuard: If you’re on Linux, USBGuard is a must-have for device control.
- Learn About Data Wiping: For old drives, understand that simple deletion isn’t enough and use a tool like Eraser for secure wiping.
Table: USB Security Tool Categories and Examples
| Tool Category | Purpose | Example Tools | Beginner-Friendly? |
| Antivirus/Scanner | Detect and remove malware from USBs. | Windows Defender, Avast Free, Bitdefender Free | Yes |
| Device Control | Control which USB devices can connect. | USBGuard (Linux) | Moderate (requires some command-line) |
| Encryption | Protect data on USBs from unauthorized access. | BitLocker, FileVault, VeraCrypt | BitLocker/FileVault: Yes; VeraCrypt: Moderate |
| Data Wiping | Securely erase data from USBs. | Eraser, DBAN | Eraser: Yes; DBAN: Advanced |
FAQs: Your Questions About USB Security Disk Tools
Q1: Do I need all these tools?
A: Not necessarily all at once. Start with a good antivirus and strong security habits. Then, add encryption if you handle sensitive data. Device control (like USBGuard) is excellent for Linux users or those in high-security environments. Data wiping is for specific scenarios (disposal/repurposing).
Q2: Can a USB security tool protect me from all types of USB attacks?
A: No single tool can offer 100% protection against all threats. Advanced attacks like BadUSB can be very difficult to defend against. A layered approach, combining good habits, antivirus, encryption, and potentially device control, offers the best overall protection.
Q3: Are free USB security tools as good as paid ones?
A: Many free tools, especially free versions of reputable antivirus software, offer excellent core protection. For basic needs, they are often sufficient. Paid solutions typically offer more advanced features, broader protection (e.g., against phishing, ransomware), and premium support. For beginners, free options are a great starting point.
Q4: What’s the difference between formatting and securely wiping a USB drive?
A: Formatting a USB drive (even a full format) primarily reorganizes the file system and marks sectors as available for new data. While it makes data difficult to access through normal means, specialized recovery software can often retrieve deleted files. Securely wiping a drive, on the other hand, overwrites the entire drive with random data multiple times, making data recovery virtually impossible. Use wiping tools for sensitive data.
Q5: Should I always keep my USB drive encrypted?
A: If you store any personal, financial, or confidential information on your USB drive, then yes, you should always keep it encrypted. Encryption is your last line of defense if the drive is lost or stolen. For drives used only for non-sensitive data (e.g., sharing public photos), encryption might be overkill, but it never hurts to be safe.
Conclusion: Empowering Your USB Security
USB drives are here to stay, and so are the threats associated with them. But by understanding the risks and leveraging the right USB security disk tools, even beginners can significantly enhance their digital safety. Start with the basics: a good antivirus and smart habits. Then, layer on encryption for sensitive data and consider device control for advanced protection. With these tools in your arsenal, you can continue to enjoy the convenience of USB drives with greater peace of mind. Stay secure, and happy data transferring!